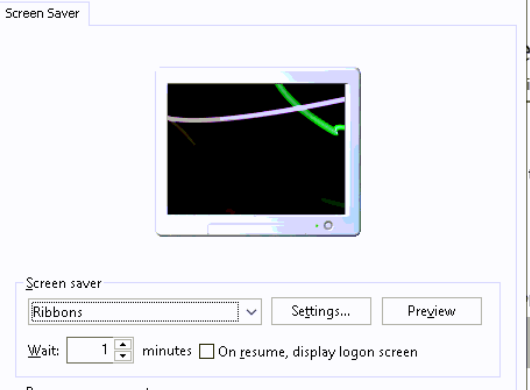
Set your screensaver, the timeout, and whether prompted for a login upon resume. This code is easy to select any of the built-in savers located in C:\Windows\System32, but you could enhance it to attach your own screensaver, copy it to System32, and set it as the one to use.
Note: The settings may not take effect until after a reboot
Evaluation:
# Define desired registry settings. Set remediation to match ------

# 1 = On resume display logon screen, 0 = No logon screen on resume
$ssSecure = 1

# Time in seconds
$ssTimeout = 600

# Screensaver used
$saver = "C:\WINDOWS\system32\Ribbons.scr"

#------------------------------------------------------------------

if (!((Get-WmiObject Win32_OperatingSystem).Caption -match "Microsoft Windows 10")) { Exit 0 }

$regPath = 'Control Panel\Desktop'

# Get User details including SID from Get-LocalUser
$users = Get-CimInstance -Class Win32_UserProfile -Filter "Special = $false"

#Add HKEY_USERS to a PSDrive for easy access later
New-PSDrive -PSProvider Registry -Name HKU -Root HKEY_USERS -ErrorAction SilentlyContinue | Out-Null

$nonCompliant = @()

# Loop through the list of users to check each for compliance
foreach ($user in $users) {

    # Retrieve SIDs for each user
    $sid = $user.SID
    $local = $user.LocalPath

    # Load Registries for users, if ntuser.dat exists
    # this prevents us from attempting to load Administrator and similar accounts
    if (Test-Path "$local\ntuser.dat") {

        # Load user's ntuser.dat into the registry
        & reg load "HKU\$sid" "$local\ntuser.dat" | Out-Null
        $properties = Get-ItemProperty -Path "HKU:\$sid\$regpath"

        # If any of these values don't match desired state, add the user name to nonCompliant list
        if ($properties.ScreenSaverIsSecure -ne $ssSecure `
            -or $properties.ScreenSaveTimeOut -ne $ssTimeout `
            -or $properties.'SCRNSAVE.EXE' -ne $saver `
            -or $properties.ScreenSaveActive -ne 1) {

            $nonCompliant += $user
        }
    }
}

#Clean-up the PSDrive
Remove-PSDrive -Name HKU

#If any users are non-compliant, "Exit 1" to flag remediation. Else "Exit 0" for Compliant
if ($nonCompliant.Count -gt 0) {
    Exit 1
} else { Exit 0 }
Remediation:
#Define desired registry settings. Make sure they match evaluation ------

# 1 = On resume display logon screen, 0 = No logon screen on resume
$ssSecure = 1

# Time in seconds
$ssTimeout = 600

# Screensaver used
$saver = "C:\WINDOWS\system32\Ribbons.scr"

#------------------------------------------------------------------------

$regPath = 'Control Panel\Desktop'

# Get User details including SID from Get-LocalUser
$users = Get-CimInstance -Class Win32_UserProfile -Filter "Special = $false"

# Add HKEY_USERS to a PSDrive for easy access later
New-PSDrive -PSProvider Registry -Name HKU -Root HKEY_USERS

foreach ($user in $users) {

    #Retrieve SIDs for each user
    $sid = $user.SID
    $local = $user.LocalPath

    # Load Registries for users, if ntuser.dat exists
    # this prevents us from attempting to load Administrator and similar accounts
    if (Test-Path "$local\ntuser.dat") {

        # Load user's ntuser.dat into the registry
        & reg load "HKU\$sid" "$local\ntuser.dat"

        # Set screensaver values
        Set-ItemProperty -Path "HKU:\$sid\$regPath" -Name ScreenSaveActive -Value 1
        Set-ItemProperty -Path "HKU:\$sid\$regPath" -Name ScreenSaverIsSecure -Value $($ssSecure)
        Set-ItemProperty -Path "HKU:\$sid\$regPath" -Name ScreenSaveTimeOut -Value $($ssTimeout)
        Set-ItemProperty -Path "HKU:\$sid\$regPath" -Name SCRNSAVE.EXE -Value $($saver)
    }
}

Remove-PSDrive -Name HKU